
Every project comes with its own unique challenges. When you begin a new project, it is crucial to understand the exclusive problems that will be faced and pivot accordingly. Whether that be timeline, budget, target market, or any number of obstacles, an agile approach can mean the difference between a successful product or a failed one. That being said, we have learned a few things along the way and have found some patterns that worked well for past clients. To help you understand some of the most common steps we employ during UI/UX deployment, we have prepared the select case study below.
UI/UX PROCESS
SECTION 1 : ANALYSIS PHASE
1.1 : Meet with key stakeholders to set vision
The BYU Idaho EPS project kickoff involved several meetings to discuss the big picture goals of the university. These meetings included BYU team members over project management, user experience, module time lines, school administration, finance, and development. We came to the table to offer both creative strategy and to help build site architecture. Together we laid out a plan that would span the next year and a half as we built and rolled out multiple modules. Having stakeholders buy off on the approach helps us to progress smoothly and avoid future disagreements on key module functionality.
1.2 : Assemble multi-disciplinary team to ensure complete expertise
Faculty representatives from various university departments were brought in to oversee usability tasks and work with us to ensure the user experience was an accurate reflection of the desired module functions. Development representatives were also included to understand the technical requirements behind building the system functionality.


1.3 : Include usability tasks in the project plan
After defining the global goals of the EPS project, usability tasks were defined for each module. It was critical to ensure that all roles that an academic advisor might play for a student would be accurately represented. This "online advisor" system also needed to serve the right content at the right time, in places easily within view of the student's daily online experience.

1.4 : Develop usability goals and objectives
Building a system to represent the university online meant we had to cater to a wide range of students, with numbers planned to reach over one hundred thousand in the next five years. The design had to meet color blind standards. The color and layout had to be easily viewable on a wide range of device displays from desktop to mobile. Quality content had to be available to a student, whether they be a prospective student, new freshman, or graduating senior. All these requirements meant we had to clearly define how this tool would shift over time to accommodate every relevant use case.

1.5 : Conduct field studies
Once we felt like we had a solid hold on our usability objectives, they were reviewed with coordinating faculty members. Students were asked to give feedback on static screens that were built for preliminary review.

1.6 : Look at competitive products
Several other universities and online grad planner tools were reviewed up front and referenced on an ongoing basis during the architecture of each module. These competitor products were very valuable as they helped us quickly work through elements of overlap that worked well and also identify areas that could be improved. Granted, our solution was to be largely proprietary and as such many of the components we built did not have good external examples to draw research or inspiration from.

1.7 : Identify user personas
Understanding the user and daily tasks they confront is a key driver as the user experience is built. But before we can know what those daily tasks entail, we need to identify the full range of users. Freshman through senior, online and on campus, full time or auditing, the list goes on. Once these core users were identified, we were able to walk through the process of mapping each user's tasks during a visit to EPS.

1.8 : Develop a task analysis
Task analysis involved understanding a problem from the student's perspective and identify what steps a would be taken to solve that problem. Rather than watching a student interact with a prototype of an EPS module, we watched the student get help in person from their academic advisor. This helps us avoid pitfalls like using predefined software functions that end up corralling the user.

1.9 : Document user stories
User stories are essential to our process. We feel that it is important to brainstorm and research user stories in their entirety before beginning any real conceptual design options. User stories are meant to live as short sentence snippets that represent tasks a user will need to accomplish. Hundreds of user stories were built over the course of researching the multiple modules that were part of EPS.

1.10 : Document user performance requirements
Stakeholders and module owners were tasked to complete requirements worksheets. These module owners were faculty members selected to represent their departments. Since they have an intimate knowledge of the key tasks students must complete in their relative areas of school work and administration, we relied on them to ensure we had a complete picture of what each module should encompass.

SECTION 2 : DESIGN PHASE
2.1 : Begin to brainstorm design concepts and metaphors
And the fun begins. Before this point, we avoid exploring design ideas as to not unintentionally influence decisions made during analysis. Now that analysis is done, it is time to explore any and all new ideas. Our mantra, "There are no bad ideas," lets us explore without fear or hesitation. This can often lead to happy discoveries that otherwise would not have been explored. These ideas take form in writings, sketches, and even loose digital comps.


2.2 : Develop screen flow and navigation model
Applying user tasks and user stories, we can begin to build out different pages and the layout of functionality that should be present for each page. We explore how pages are structured and placed in relation to one another, and how site navigation interacts with these pages.
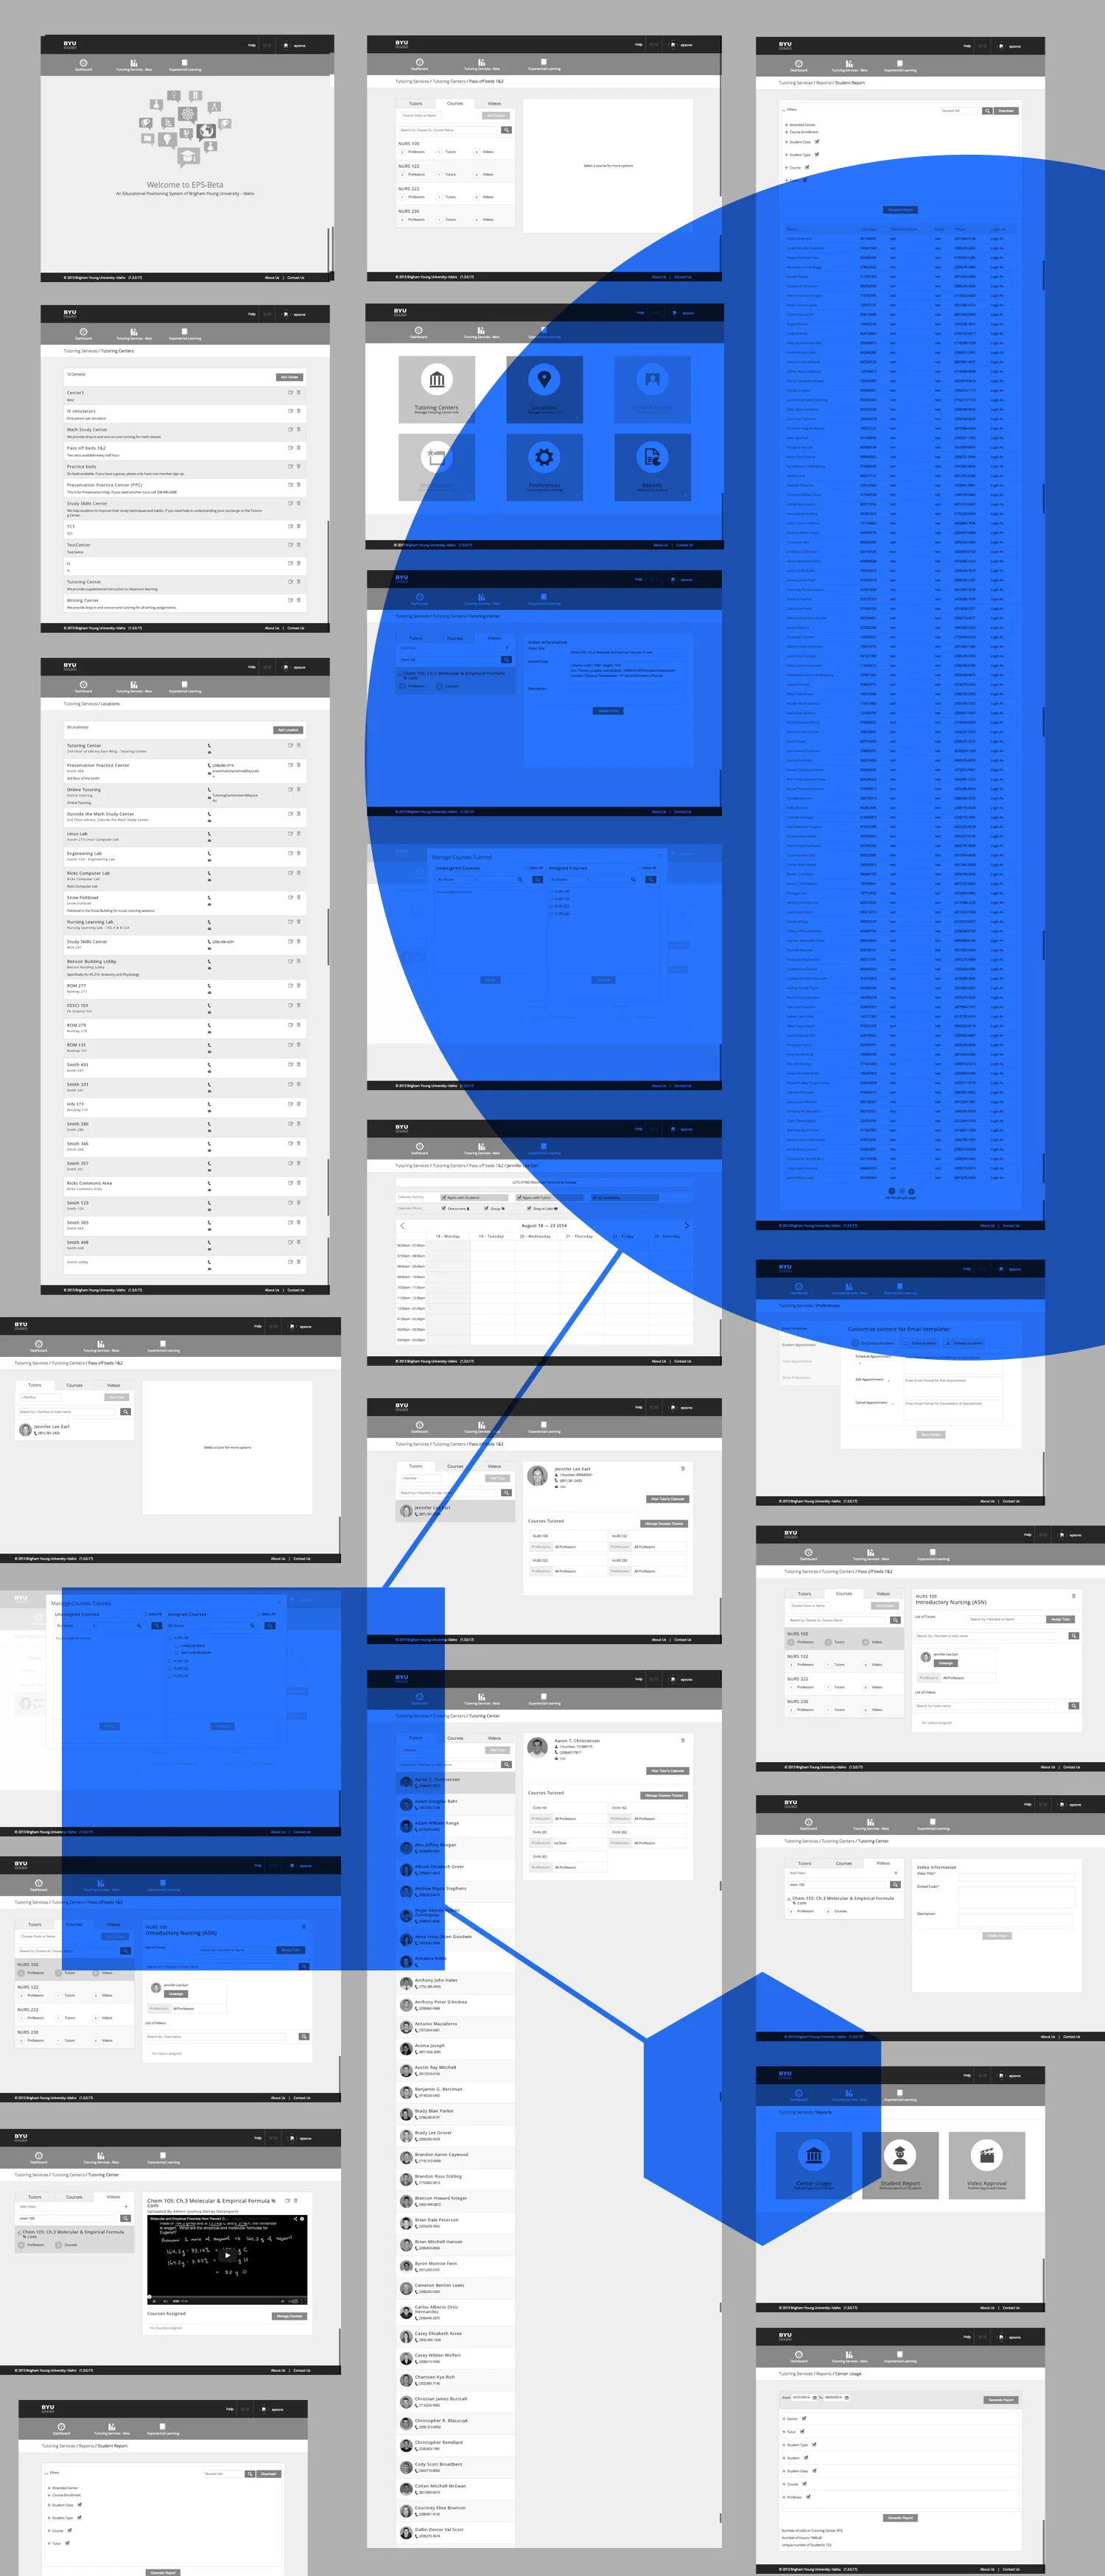
2.3 : Do walk throughs of design concepts
Every concept built during the screen flow step is analyzed internally. This can help us filter out unsuccessful options early on before spending too much time designing elements for a failed direction.
*The example given here represents only a portion of the screen flow designs built for the EPS project.

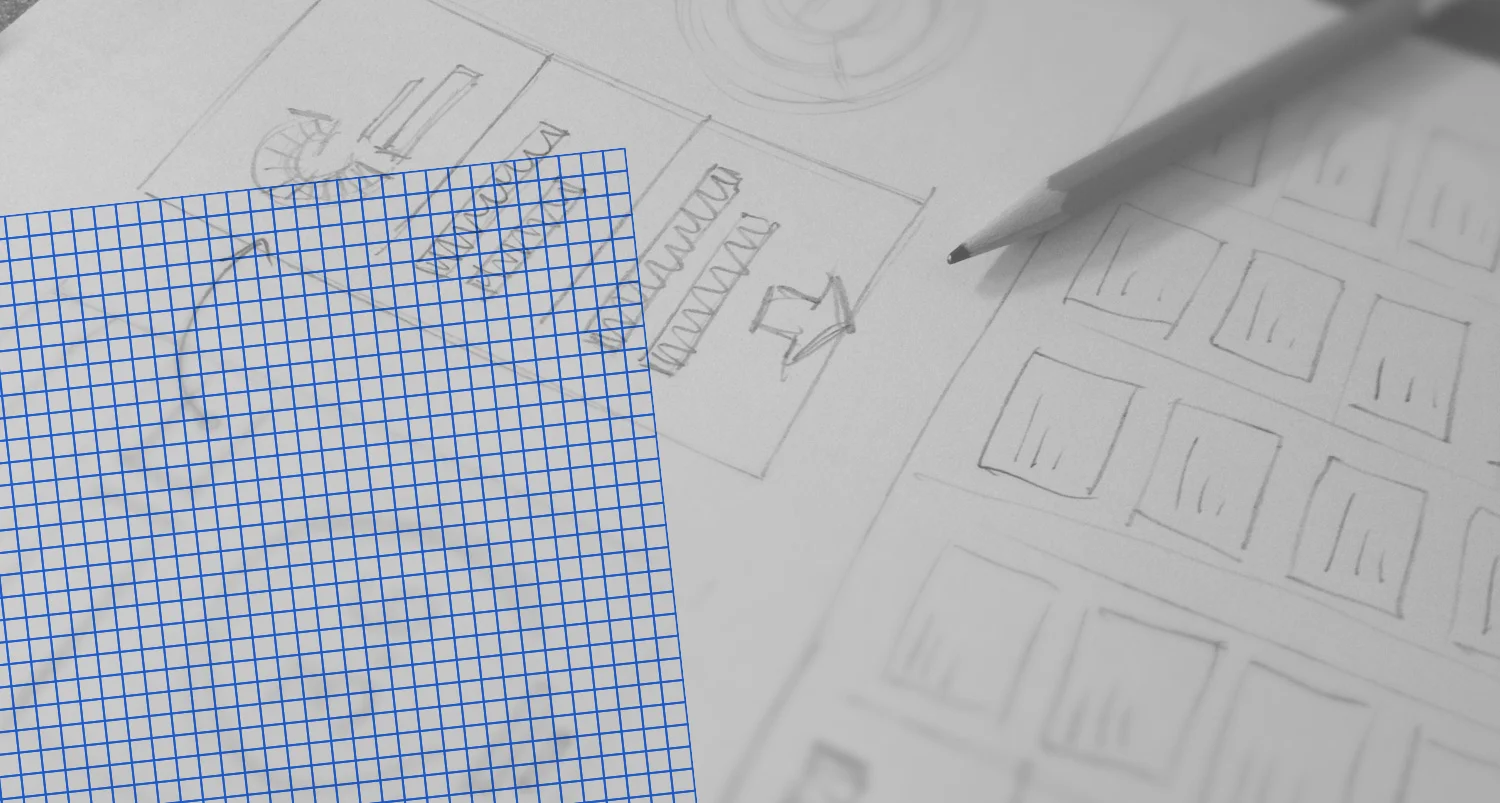
2.4 : Begin design with paper and pencil
Paper and pencil design offers several advantages. The speed of exploration allows us to cover a lot of ground in little time. The loose nature of paper and pencil helps to remain devoid of any structure that computer software may introduce. This is helpful to reinforce the unfinished state of the designs.
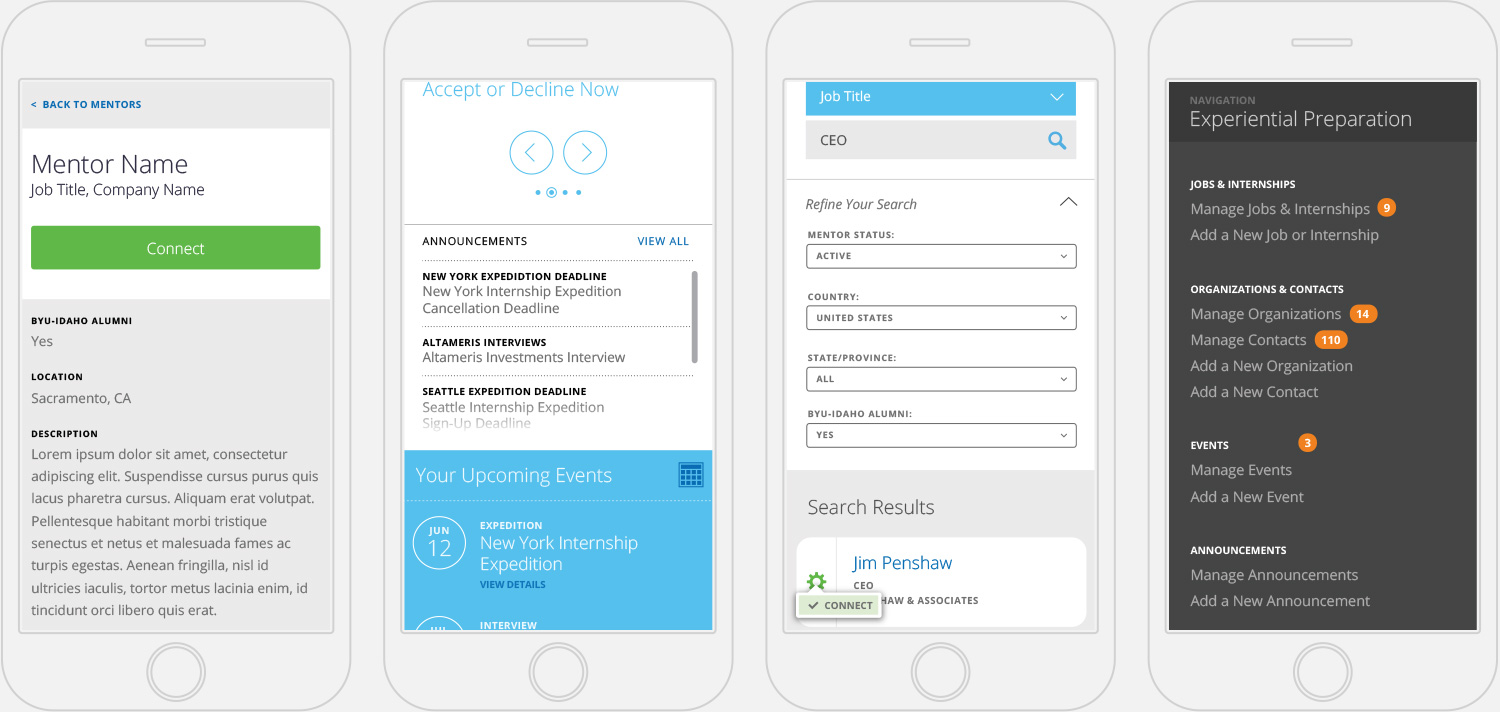
2.5 : Create low fidelity prototypes
Being able to test prototypes without building a working product can save time and money. Simple, static screens can be quickly built. Those screens can be tested using programs like inVision help to preview what a working prototype might look like.
2.6 : Conduct usability testing on low fidelity prototypes
Students and faculty get the opportunity to test these working prototypes. What we learn from their experience in the prototype influences our opinions around screen flow and navigation models and lets us adjust accordingly. Again, this process allows us to correct or eliminate design elements in the early stages to help save time and money in the long run.
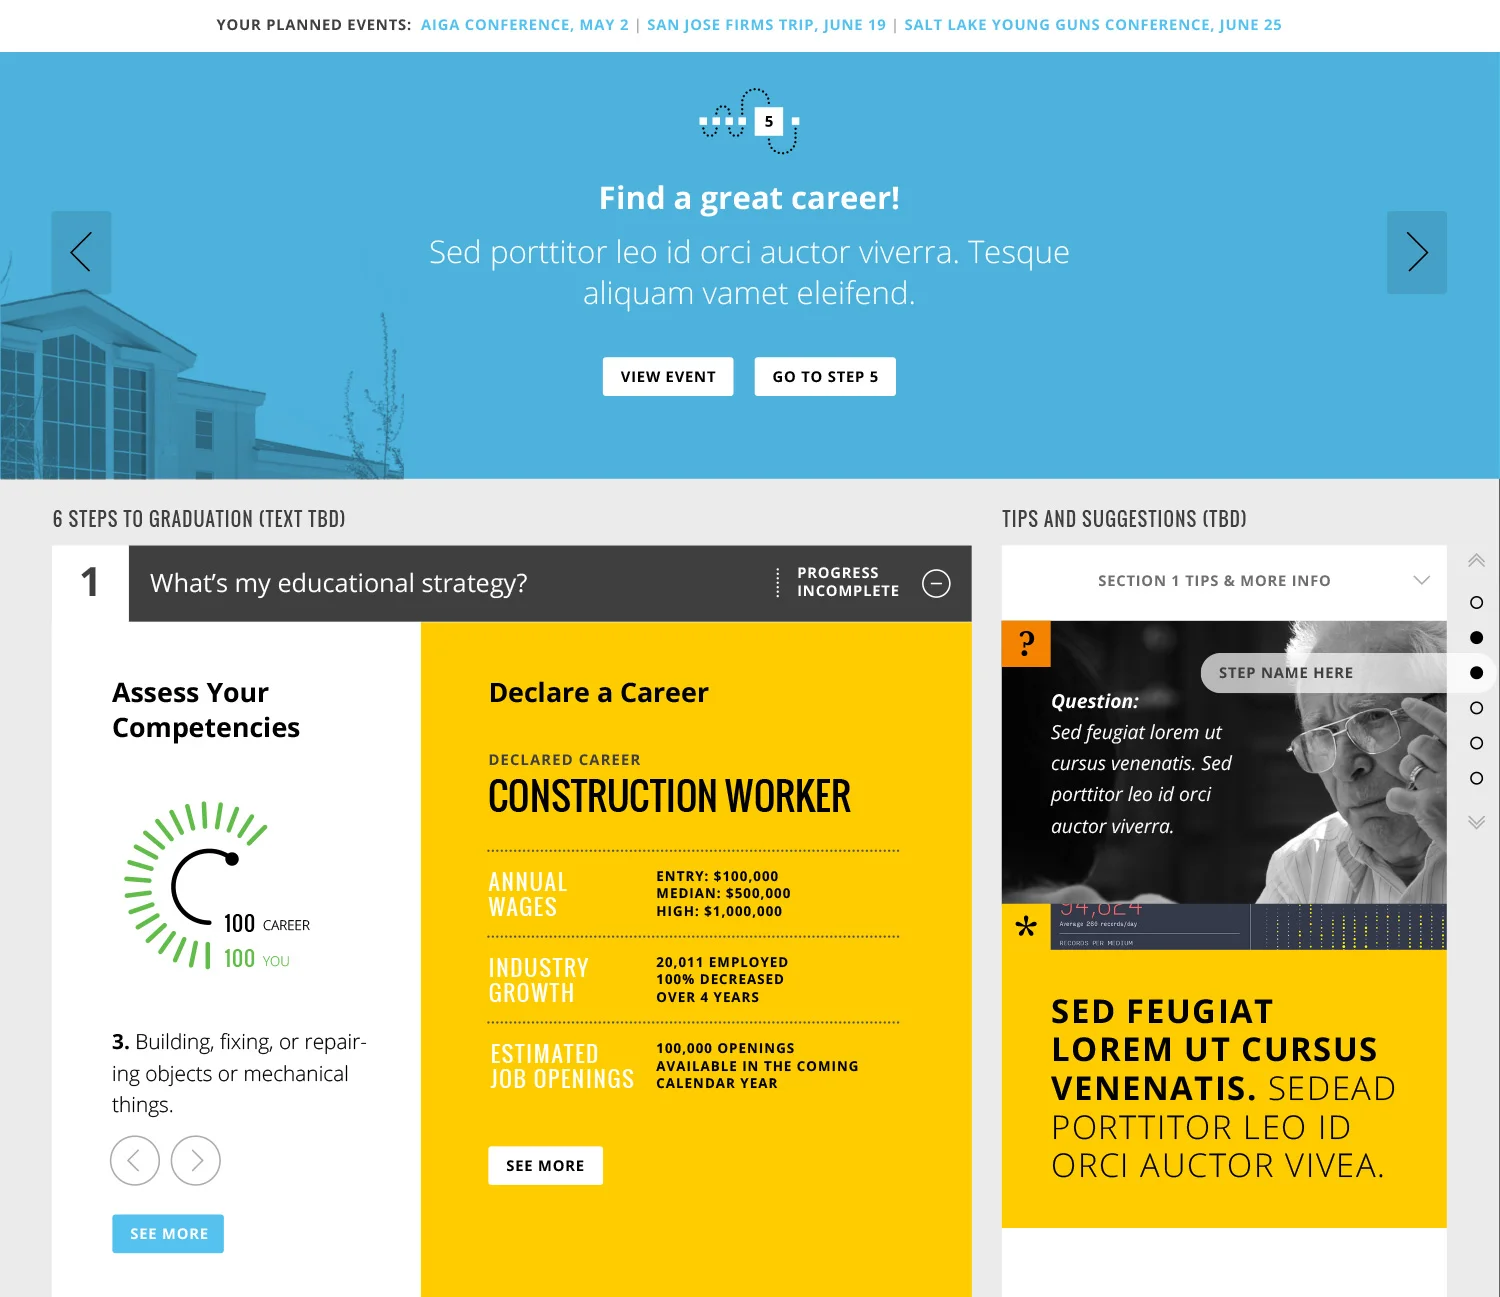
2.7 : Create high fidelity detailed design
Confident in the research gathered and sequential designs that have been built, we begin to polish each page and all the design elements on that page. Good design is in the details, and we make sure that adequate time is given to each and every detail to make the final product shine.
2.8 : Conduct additional usability testing
To be sure that nothing was missed, or lost in translation, additional testing is conducted. It is ideal to conduct usability testing during several steps in the overall process. This serves to give our team validation and solid proof of concept for stakeholders to review. Getting stakeholder approval early and often often means massive savings in time and money for the project.


2.9 : Document standards and guidelines
As each page is built, certain elements used on each page will be reused. It is important to begin documenting each element and how where and when it should be used. Continuity is critical to any project, and especially to one as large as the EPS project.
2.10 : Create a design specification
Documentation around design elements is built into a living style guide to act as a reference manual. People who will work on the project after our involvement need to understand what elements exist and why. Without this manual, much of the work done earlier in the project can be lost. The style guide is also helpful as design is handed off to the development team as implementation begins.

SECTION 3 : IMPLEMENTATION PHASE
3.1 : Begin ongoing heuristic evaluations
Building an online system as large as EPS can make it difficult to keep track of all the moving parts. We used heuristic evaluations as a rule of thumb to make sure some of the key usability bases were covered. However, we also ensured the heuristic evaluations did not replace the user testing and previously researched personas.
3.2 : Work closely with development team as design is implemented
We worked closely with a development team to implement the high fidelity product. The development team was based internationally and sent several representatives to work with us on location. We were able to work with them as they built out each module. As individual components were built, their team would present us their work for evaluation. This back and forth relationship ensured the final product accurately represented the vision that had been built.
3.3 : Conduct additional usability testing
Additional testing is conducted, offering further validation or finding new ways to improve the system.


SECTION 4 : DEPLOYMENT PHASE
4.1 : Collect user feedback
Students and faculty members take time to actively use the system and become familiar with it. Afterwards, surveys are used to collect feedback. Hedonic and pragmatic options help us determine the success of the project. As roll outs can become iterative, this feedback is helpful to drive changes to future iterations.
4.2 : Conduct field studies to get information around actual usage
Field studies are conducted in naturalistic settings, or real contexts of use. Our field studies were mainly short-term, roughly hour long sessions. If needed, these studies could take one or two weeks to complete.
4.3 : Check objectives using usability testing
As EPS launches, monitoring usability becomes an ongoing task. Thousands of students all have unique circumstances and offer more helpful feedback. These projects are never static, and as we learn more from our users, we become better equipped to take on the next iterative cycle of the EPS project.
